2022年2月15日星期二

How to Connecting CUMMINS Engines using Cummins INSITE Software

 How to Connecting CUMMINS Engines using Cummins INSITE Software

Cummins INSITE

How-to-Connecting-CUMMINS-Engines-using-Cummins-INSITE-Software-1

#To Connect to an ECM
1). Open Cummins INSITE through shortcut on desktop, using Status bar to select a connection options.

How-to-Connecting-CUMMINS-Engines-using-Cummins-INSITE-Software-2

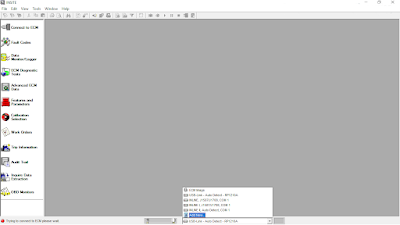
2). Click the dropdown box on the Status bar to view a list of all currently available connection options, or click Add New to create one, then click Next.

How-to-Connecting-CUMMINS-Engines-using-Cummins-INSITE-Software-3

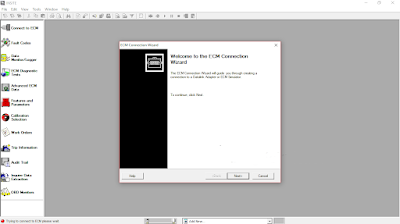
3). Use the ECM Connection Type page, and choose Datalink Adapter (Connect using a Datalink Adapter), then click Next.

How-to-Connecting-CUMMINS-Engines-using-Cummins-INSITE-Software-4

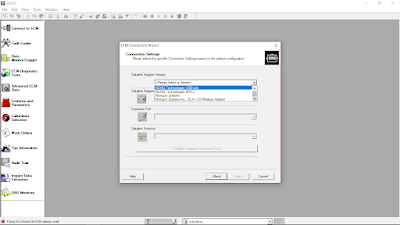
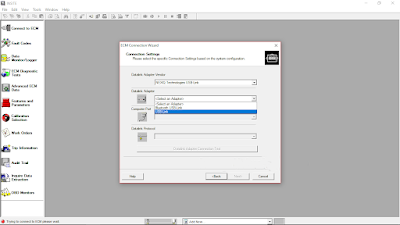
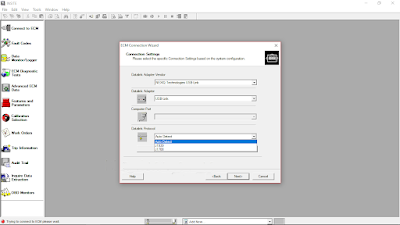
4). Select Connection Settings, Datalink Adapter Vendor, Datalink Adapter, and Datalink Protocol, then click Next.

How-to-Connecting-CUMMINS-Engines-using-Cummins-INSITE-Software-5
How-to-Connecting-CUMMINS-Engines-using-Cummins-INSITE-Software-6
How-to-Connecting-CUMMINS-Engines-using-Cummins-INSITE-Software-7

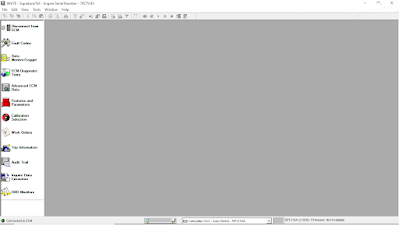
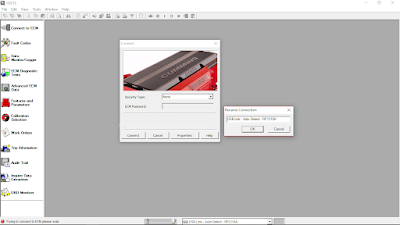
6). Click Connect to ECM.
→If you are connecting to a new ECM or an ECM without existing ECM passwords, select “None” in the Security Type: dropdown list.
→If you then want to define ECM security type passwords, select ECM Passwords on the Tools menu once connected to the ECM.

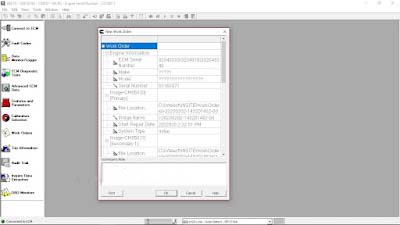
7). The Work Order Wizard is automatically displayed for you to create a work order for the selected connection, then click OK.
→You can disable the Wizard from starting automatically by unchecking the Enable Work Order Mode checkbox in the Work Orders page of the Options window. Read More: Work Orders on Cummins INSITE Software (CUMMINS Engines).

How-to-Connecting-CUMMINS-Engines-using-Cummins-INSITE-Software-8

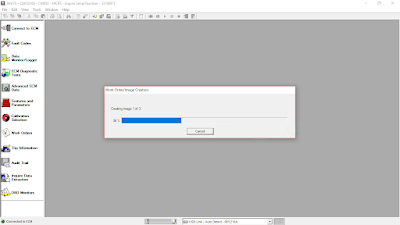
8). Wait the Work Order/Image Creation until 100% of creating image.

How-to-Connecting-CUMMINS-Engines-using-Cummins-INSITE-Software-9
How-to-Connecting-CUMMINS-Engines-using-Cummins-INSITE-Software-10


ECM Time on Cummins INSITE Software (CUMMINS Engines)

 ECM Time on Cummins INSITE Software (CUMMINS Engines)

ECM Time – Engine Hours

ECM-Time-on-Cummins-INSITE-Software-1

During operation of the Engine, the ECM records and stores information related to a wide range of events, which includes time stamping. Two different measures of time are available:
1). ECM Time (Key On Time), which is the cumulative ECM hours (HH-MM-SS), refer to Figure 1.1 above, while Engine Hours (Engine Run Time) is cumulative time as the Engine is running (HH-MM-SS).

ECM-Time-on-Cummins-INSITE-Software-2

2). ECM Real Time, which gives a date and 24 hours based time stamp. This feature allows automatic synchronization of ECM Real Time to match the PC Date and Time or a manual change to enter the current ECM Real Time. It is also important to ensure that the local time zone is set correctly to maintain the correct local time.

A battery backup is used to maintain constant power to the Real Time Clock. If the battery backup is not present, a power loss to the Real Time Clock (such as disconnecting the batteries in excess of 5 seconds) causes a loss of Real Time Clock accuracy. This situation generates fault code 319, and the maintenance lamp will light.

#Enabling the Real Time Clock
To enable the Real Time Clock:
a). From Advanced ECM Data, select Real Time Clock. Read More: Advanced ECM Data on Cummins INSITE Software (CUMMINS Engines).

ECM-Time-on-Cummins-INSITE-Software-3

b). Select the Enable Real Time Clock checkbox.

ECM-Time-on-Cummins-INSITE-Software-4

c). The Real Time Clock can either be set automatically or manually:
→Automatically setting the Real Time Clock
-Verify that the Local PC Date and Time are correctly displayed. If this needs to be corrected, it must be done within Windows. Select Undo and close INSITE™. Adjust the PC Date and Time as needed. If the Local PC Time and Date are correct, select the Auto Set button.
→Manually setting the Real Time Clock
-Verify that the Local Time Zone is correct, and then set the correct date and time in the ECM Date and Time frame. Select Apply to save these settings to the ECM.
d). Follow the prompts to save the changes to the ECM.

ECM-Time-on-Cummins-INSITE-Software-5

Note: Once enabled, the Real Time Clock can NOT be disabled and ECM cumulative hours are no longer available.
e). Select Undo to exit the Real Time Clock window without sending changes to the ECM.